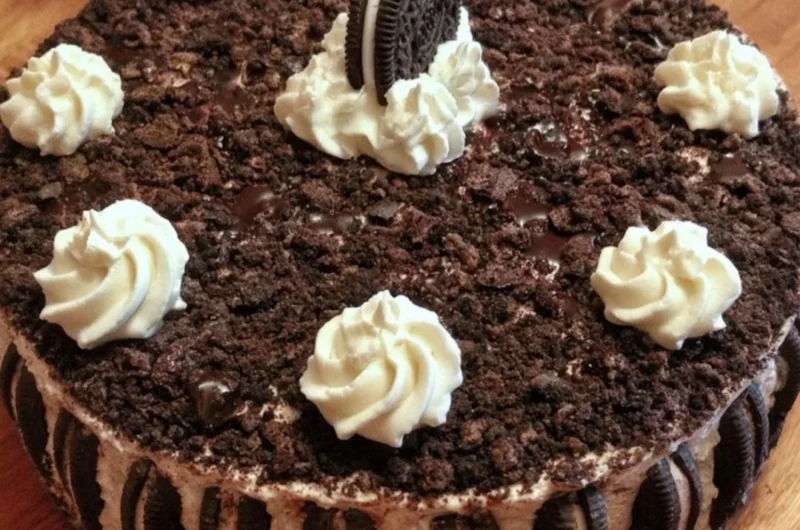
Oreo Easy Ice Cream Cake: A Sweet Celebration of Comfort
There’s something delightfully nostalgic about an ice cream cake, isn’t there? The first bite takes me back to lazy summer afternoons filled with laughter and sunshine, sharing sweet moments with family and friends. Whether it’s a birthday party, a family gathering, or just a cozy evening at home, this Oreo Easy Ice Cream Cake has that magic touch that brings everyone together. With its creamy layers, crunchy Oreos, and a hint of chocolate sauce, it’s a treat that simply feels like a warm hug on a plate.
This recipe is not just a dessert; it’s an experience—a playful assembly of flavors that brings joy with every bite. And the best part? It’s an easy weeknight treat that can be whipped up in no time, making it perfect for any occasion. This is one you’ll definitely want to pin for later!
Why You’ll Love This Recipe
- Quick & Easy: No complicated baking or special skills needed! This no-bake dessert comes together in just a few minutes.
- Crowd-Pleasing: With flavors like creamy vanilla ice cream and crunchy Oreos, it’s a favorite among kids and adults alike!
- Customizable: Feel free to get creative! Add your favorite toppings or try different ice cream flavors for a personal twist.
- No Special Equipment: All you need is a baking dish and some basic kitchen tools—no fancy gadgets required.
- Perfect for Any Occasion: Whether it’s a summer BBQ or a cozy family movie night, this dessert fits right in.
Ingredients You’ll Need for Oreo Easy Ice Cream Cake
Gather these simple ingredients:
- 12 Oreo cookies
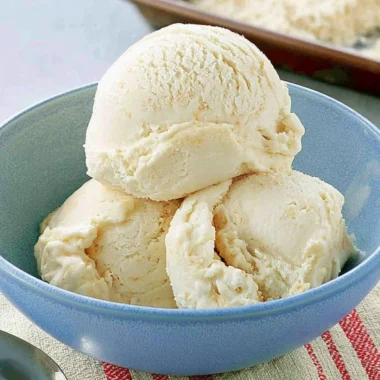
- 1/2 gallon of ice cream (vanilla or cookies and cream)
- 1 container of whipped topping
- Chocolate sauce (optional)
- Sprinkles (optional)
Let’s Make It Together
Crush the Oreo cookies and set aside. Enjoy the sound of those precious cookies breaking up in your hands or in a bag—it’s therapeutic!
In a rectangular baking dish, layer the crushed Oreos on the bottom. This will create a deliciously crunchy base.
Spread half of the ice cream over the Oreo layer, smoothing to cover. The ice cream should melt into the oreos, creating a harmonious blend.
Add a layer of whipped topping over the ice cream. This fluffy layer adds a delightful creaminess that complements the crunchy Oreos.
Repeat the layers with the remaining ice cream, crushed Oreos, and whipped topping. Build your cake like a sweet tower!
Drizzle chocolate sauce and add sprinkles on top, if desired. This is where you can let your creativity shine!
Freeze the cake for at least 3 hours before serving. This time is crucial for achieving that perfect scoopable consistency.
Slice and enjoy! Each slice is a delightful layer of creamy, crunchy, sweet goodness!
Fun Ways to Customize It
- Chocolate Lovers: Use chocolate ice cream instead of vanilla for an extra decadent dessert.
- Fruity Twist: Add a layer of diced strawberries or raspberries between the ice cream and whipped topping for a fresh, zesty flavor.
- Nutty Add-Ins: Sprinkle chopped nuts, like pecans or almonds, between layers for a delicious crunch.
- Themed Toppings: Swap out the chocolate sauce for caramel or berry sauce and adapt the sprinkles to match any party theme or holiday!
Chef Emma’s Helpful Tips
- Make-Ahead Magic: This cake freezes beautifully, so consider making it a day in advance. Just make sure to seal it well to prevent freezer burns.
- Slice with Ease: Dip your knife in warm water before slicing to get perfect, clean cuts—this ensures everyone gets a beautiful piece of the cake.
- Storage Suggestions: Store any leftovers tightly wrapped in the freezer for up to a week. It’s great to have a little slice of heaven waiting for you!
- Flavor Swaps: Don’t hesitate to use your favorite cookies in place of Oreos! The method will work beautifully with other cookie types, too.
What’s Inside – Nutrition Breakdown
- Serving Size: 1 slice
- Calories: 350
- Carbohydrates: 40g
- Sugar: 24g
- Fat: 18g
- Protein: 4g
- Sodium: 150mg
Frequently Asked Questions
Can I make this ahead?
Absolutely! This cake is perfect for make-ahead treats. Just ensure it’s well-wrapped in the freezer.
Can I use different ingredients?
Yes! Feel free to swap out the ice cream flavors or cookies to suit your taste.
How do I store leftovers?
Keep any leftover cake tightly wrapped in the freezer for up to a week.
How long does it last?
If stored properly, this beauty can last about a week in the freezer—though we’re sure it won’t last that long!
A Cozy Closing Note
Every bite of this Oreo Easy Ice Cream Cake brings back treasured memories of joyful occasions spent with those we love. The creamy texture, the crunch of Oreos, and the fun toppings make it a delightful treat that can light up any gathering. Save this Oreo Easy Ice Cream Cake to your dessert board so it’s ready when you need to sprinkle a little sweetness into your life! Enjoy every slice and every moment around the table!
Print
Oreo Easy Ice Cream Cake
- Total Time: 180 minutes
- Yield: 8 servings 1x
- Diet: Vegetarian
Description
A delightful no-bake ice cream cake filled with layers of creamy vanilla ice cream, crunchy Oreos, and fluffy whipped topping, perfect for any occasion.
Ingredients
- 12 Oreo cookies
- 1/2 gallon of ice cream (vanilla or cookies and cream)
- 1 container of whipped topping
- Chocolate sauce (optional)
- Sprinkles (optional)
Instructions
- Crush the Oreo cookies and set aside.
- Layer the crushed Oreos in a rectangular baking dish.
- Spread half of the ice cream over the Oreo layer.
- Add a layer of whipped topping over the ice cream.
- Repeat the layering process with the remaining ice cream, crushed Oreos, and whipped topping.
- Drizzle chocolate sauce and add sprinkles on top, if desired.
- Freeze the cake for at least 180 minutes before serving.
- Slice and enjoy!
Notes
This cake freezes beautifully, making it perfect for make-ahead treats. Store any leftovers tightly wrapped in the freezer for up to one week.
- Prep Time: 15 minutes
- Cook Time: 0 minutes
- Category: Dessert
- Method: No-Bake
- Cuisine: American
Nutrition
- Serving Size: 1 slice
- Calories: 350
- Sugar: 24g
- Sodium: 150mg
- Fat: 18g
- Saturated Fat: 10g
- Unsaturated Fat: 6g
- Trans Fat: 0g
- Carbohydrates: 40g
- Fiber: 1g
- Protein: 4g
- Cholesterol: 20mg